Wednesday, December 31, 2008

The 3-5-3-5-3 Crochet Square Pattern

I needed to make a 12 inch square for a charity donation. I decided to improvise my own design. Here's what I came up with... The 3-5-3-5-3 Square.

*Please be advised this is my own pattern. Although I am happy for you to use it for your own personal use, please do not reprint the pattern or use this pattern for items for sale. Thanks.*
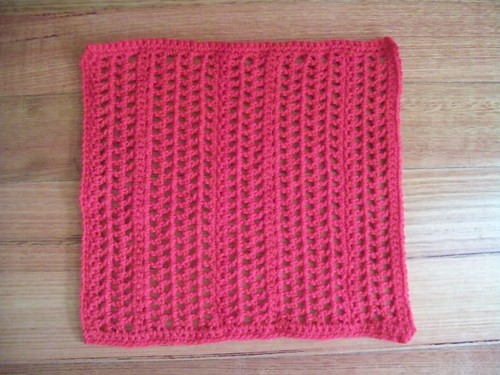

Materials:
Carnival 8ply acryclic - Red
Size G / 4.25mm hook
Needle to darn in ends

*Pattern written using USA crochet terms*

Ch 50

Row 1: SC in 2nd chain from hook and each chain across (49 SC made).

Row 2: ch-1 and turn. #SC, ch-1 and skip next stitch# repeat from # to # across - ending with a SC in the last stitch.

Row 3: ch-3 and turn. #DC in ch-1 space, ch-1#, repeat from # to # all the way across, DC in last ch-1 space, NO CHAIN and then a DC in final stitch.

Row 4: ch-4 and turn. (skipping both the turning chain and the first DC of the previous row) #DC in ch-1 space, ch-1#, repeat from # to # all the way across ending with a DC in the last stitch.

Row 5: Repeat row 3.

THAT COMPLETES THE FIRST LOT OF "3" IN THE 3-5-3-5-3 PATTERN.

Row 6: ch-1 and turn. SC in each stitch across.

Row 7: ch-1 and turn. #SC, ch-1 and skip next stitch# repeat from # to # across - ending with a sc in the last stitch.

Rows 8-12: Repeat row 3, repeat row 4, repeat row 3, repeat row 4, repeat row 3.

THAT COMPLETES THE FIRST LOT OF "5" IN THE 3-5-3-5-3 PATTERN.

Rows 13-14: Repeat rows 6 and 7.

Rows 15-17: Repeat row 3, repeat row 4, repeat row 3.

THAT COMPLETES THE SECOND LOT OF "3" IN THE 3-5-3-5-3 PATTERN.

Rows 18-19: Repeat rows 6 and 7.

Rows 20-24: Repeat row 3, repeat row 4, repeat row 3, repeat row 4, repeat row 3.

THAT COMPLETES THE SECOND LOT OF "5" IN THE 3-5-3-5-3 PATTERN.

Rows 25-26: Repeat rows 6 and 7.

Row 27-29: Repeat row 3, repeat row 4, repeat row 3.

THAT COMPLETES THE LAST LOT OF "3" IN THE 3-5-3-5-3 PATTERN.

Row 30: ch-1 and turn. SC in each stitch across.

Row 31: ch-1 and turn. SC in each stitch across, ending with 2 SC in the final stitch from the previous row.

FINISHING....
You will now continue along THE SIDE of the work - by rotating your square one quarter turn in a clockwise direction.

SC all the way along the side of the work. When you reach the end, ch-1 and turn. SC all the way back to where you came from. Finish off.

Now join with a slip stitch to the OTHER SIDE of the square. SC all the way along the side. When you reach the end, ch-1 and turn. SC all the way back to where you came from. Finish off.

Now just weave in your ends and your square is complete. Cheers!
*Please be advised this is my own pattern. Although I am happy for you to use it for your own personal use, please do not reprint the pattern or use this pattern for items for sale. Thanks.*

Saturday, December 20, 2008

Wherefore art thou, Dolly?

I recently sent a Christmas package to the US, which included some more items I made for my niece's American girl dolls (among other things). They told me they really loved the capes/shawls I previously made for their dolls, so I've decided to make them each another one.


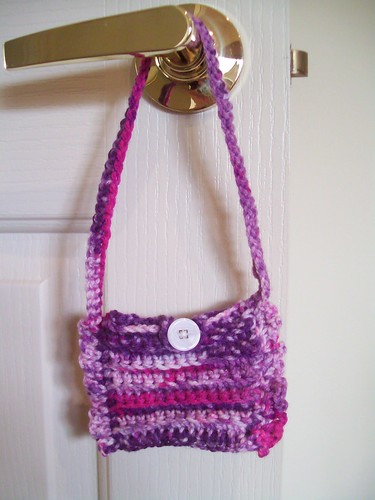
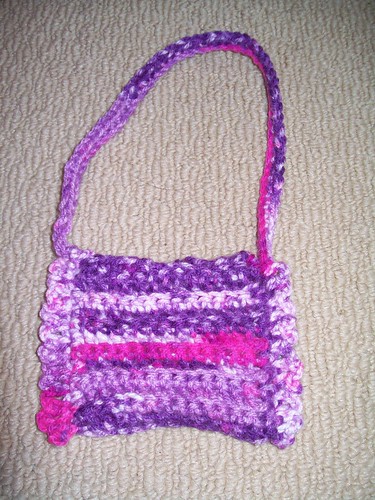
For their birthdays this year I made them each a blanket. For Niece 6, I made a matching blanket for her doll. For Niece 9, I didn't have a chance to do it, but instead made her a little doll purse. To even things up, I've reversed it for Christmas. I made Niece 6 the doll purse, and Niece 9 will finally get her matching dolly blanket (to match her big blanket).


I 'designed' the doll purse myself - and seeing I hate joining things together, I made it so it is all in one piece. I only had to weave in the beginning tail and the ending tail, sew on the button and ta-da! I've called it the "I'm Bringing Frilly Back" doll purse. Look out Justin Timberlake!

Wednesday, December 10, 2008

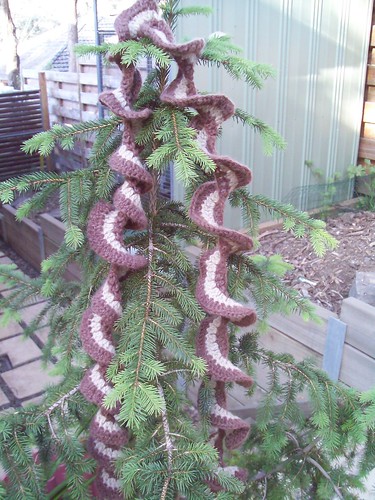
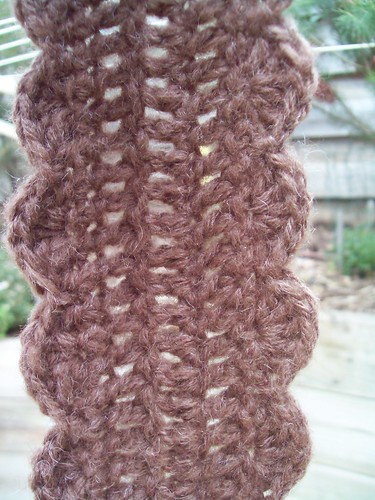
Cat's Curlique Scarf

I recently finished this curlique (curlicue?) scarf for my good friend Cat who just moved to Florida. I'm not sure what the weather is like in Florida, but I'm guessing not that cold. This fun curlique scarf both suits her personality, and shouldn't be too warm as it's rather light.


As a side note, I've been have a bad run of luck lately in the way of yarn. I keep starting all these projects, thinking I have enough wool, and then running out before I am finished. This project was one of those as well. I was 97 percent done with the scarf and ran out of the coffee brown colour. A couple of days later I had a "Christmas miracle" and found a half a skein of the coffee hiding in a drawer where no yarn should be. I was so glad!


Stop Reading My Blog!

I've recently made something, about which I am quite excited. Unfortunately I can not blog about it because the gift recipient reads my blog. Guess I'll have to wait until after Christmas - hope the excitement hasn't worn off by then. :)

Saturday, December 6, 2008

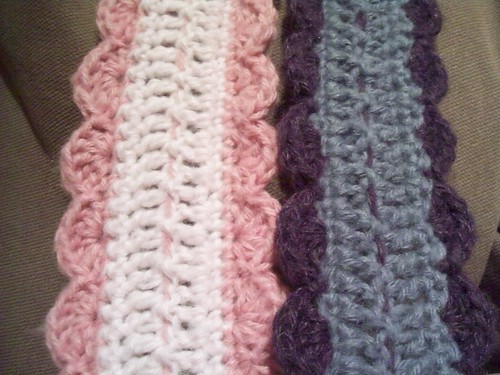
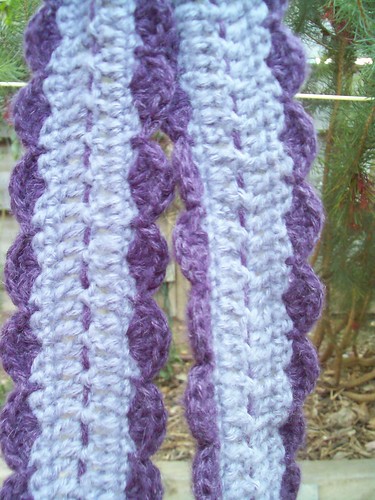
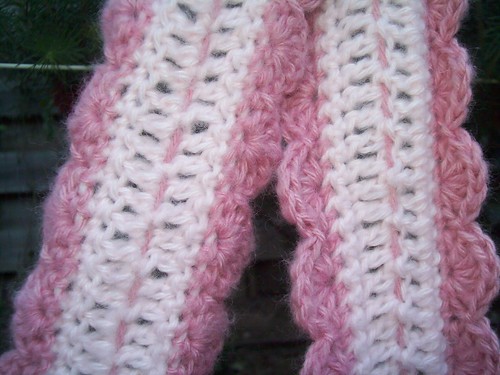
Pink, purple & pumpkin

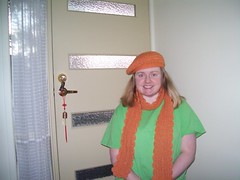
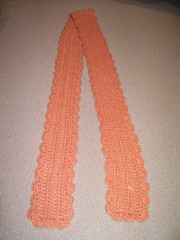
Back in September? or October? when I was being a really good girl and getting a nice earlier start on my Christmas presents, I made my sister a scarf and beret. I chose a pretty pumpkin colour (it is not "orange" like it looks in the photos) to go with her warm colouring.


I decided I'd make my nieces similiar style scarfs to match their mum's so all "the girls" would have the same.


I'm intending, time permitting, to also make the girls berets as well, in the same colour as the outside shell borders of their scarfs.

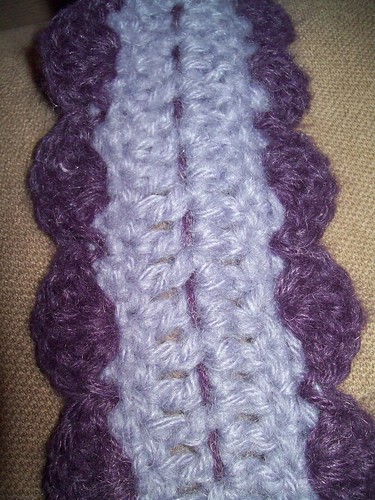
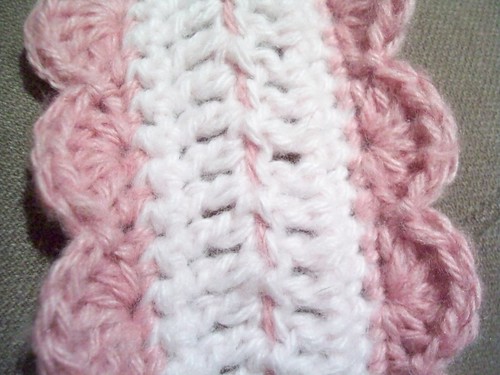
If you look closely I wove in the darker outside colour through the middle of the scarf. I was quite pleased with this idea (go me!) as I think it gives it a more finished look. (Not to be mistaken with Finnish from Finlad - ha! ha!).


Sunday, November 30, 2008

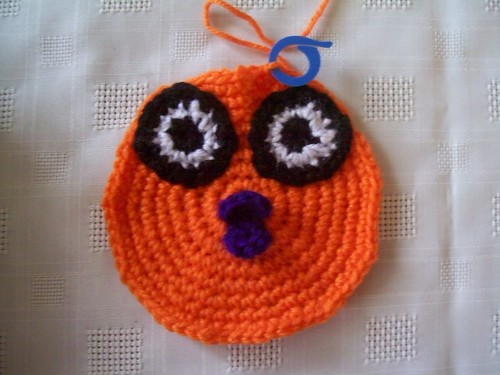
Goldie the Goldfish Toilet Roll Cover

When I first learned to crochet my husband kept telling me that I needed to make a toilet roll cover. I'm pretty sure he meant it in jest, and I'm pretty sure he meant one of those ones where you put a barbie doll in the middle and her crocheted dress covers the roll of toilet paper.

On the lovely Ravelry group - Crochet Lovers Victoria - we are planning on having a toilet paper cover design competition after Christmas. Well, I couldn't wait that long! I can't remember but I may have even been the one to recommend we wait until after Christmas because I was too busy! LOL

Well, instead of working on Christmas presents like I should be, last night I designed and made this goldfish toilet paper roll cover instead. I'm exceedingly proud of myself - seeing I envisioned this thing in my head, winged it - having never made a toilet cover of any kind - used techniques I've never used before, and ended up with something that, if I do say so myself, is pretty cute!

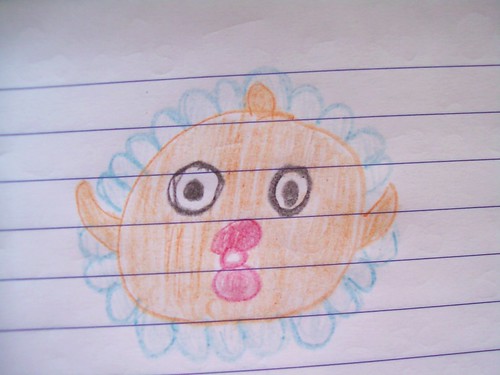
First I drew a sketch (I know, I know... don't give up my day job to be an artist)

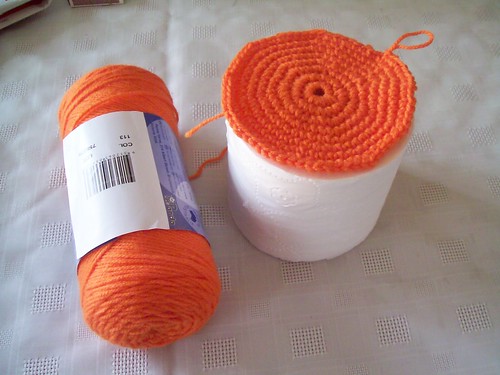
Then I grabbed the orange acrylic and started with the "face" - making sure it was the right size to fit the loo roll.

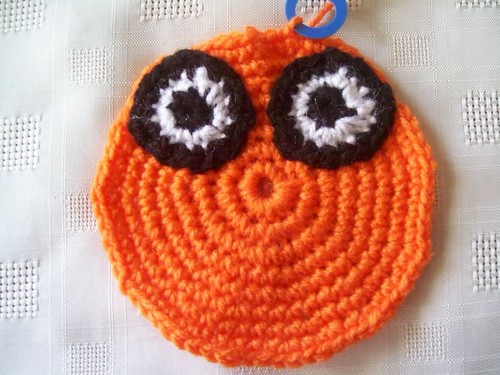
I decided I wanted to make and attach the eyes and mouth before proceeding any further as they would be harder to attach later on. First the eyes...


I was originally thinking red lips, but it was just too close too the orange. I pulled out some different shades, and found I like the purple lips the best. I made a small set of lips and a bigger set of lips. Unfortunately the bigger set made it look like a duck instead of a fish, so I went with the smaller ones.

After attaching the eyes and lips, I went back to my orange, created the "dorsal fin" curlique on top of the head, made a seam around the face (by doing what I think is called going around the post) then continued on until the body was "almost" the length I wanted.


I then switched to this variegated blue and white mixture for the water and waves. I made a few more rows with this colour, did the "going around the post thing - I think" and then made the waves around the bottom with triple crochet shells of five stitches each.


After I was done with the water and waves, I improvised some fins, popped them on, and TA-DA! My first toilet roll cover design was complete!
It would be very easy to modify this design for any colour fish... add some black stripes to make him like Nemo... do smaller cross eyes for a goofy fish, all sorts of variations.
I was hoping this would satisfy my husband desire for a toilet roll cover, but now he's talking about me making the entire cast of Nemo. Er, I don't think so!

Tuesday, November 25, 2008

Tricia's Christmas Scarf

I'm trying to get things crossed of my Christmas to-do list. On Sunday, I was on a roll and was able to both start AND finish a scarf for my dear friend Tricia. She has lovely Auburn coloured hair and I thought this coffee brown Patons soft haze would look very pretty on her.


This is a modification of the "One skein scarf" pattern from the "Happy Hooker" book. (Always takes me two to three skeins - just for the record). I'll post this at the end of the week so it will get to her sometime in December (along with a packet of Tim Tams for her cookie obsessed husband).