In light of the current worldwide coronavirus COVID-19 pandemic, and accompanying shortages, I’ve decided to save my dwindling toilet paper supplies for #2s. (Aka bowel movements, poopies, doo doos, or whatever euphemism you prefer.)
I’ve been informed that you men-folk don’t require TP for #1s, but us women and girls need to “dry off.” And really, that’s all we’re doing... drying off. Well, I’ve got a few things around that I can use to dry off. Although urine is sterile, and Bear Grylls even drinks his, unless I’m desperate, I don’t REALLY want to use something (like a washcloth) that I may someday want to use to clean my face!
Enter some old cotton t-shirts that have seen better days. Hmmm, these will work...
Here’s the plan... I’m going to have 2 buckets next to my toilet. One for clean wipes, and the other for dirty. As luck would have it, thanks to my dear friend Julie, I’m lucky enough to have a bucket with a lid for those dirty wipes. Thanks, Julie! When the clean ones are running low, I’m going to give the dirty ones a nice hot wash and dry and back into the clean bucket they’ll go.
A few tips:
1 - Cotton or bamboo are both absorbent and delicate to your sensitive areas.
2 - You can use old t-shirts, old underwear, old hankies, old sheets, old cotton towels, or old cotton baby nappies/diapers!
3 - Wash those wipes in hot water with a bit of NapiSan or WhiteKing laundry powder.
4 - If available, try to use a laundry detergent with no dyes or perfumes.
5 - Don’t use fabric softener (it’s scented).
6 - Remember, these can’t be flushed!
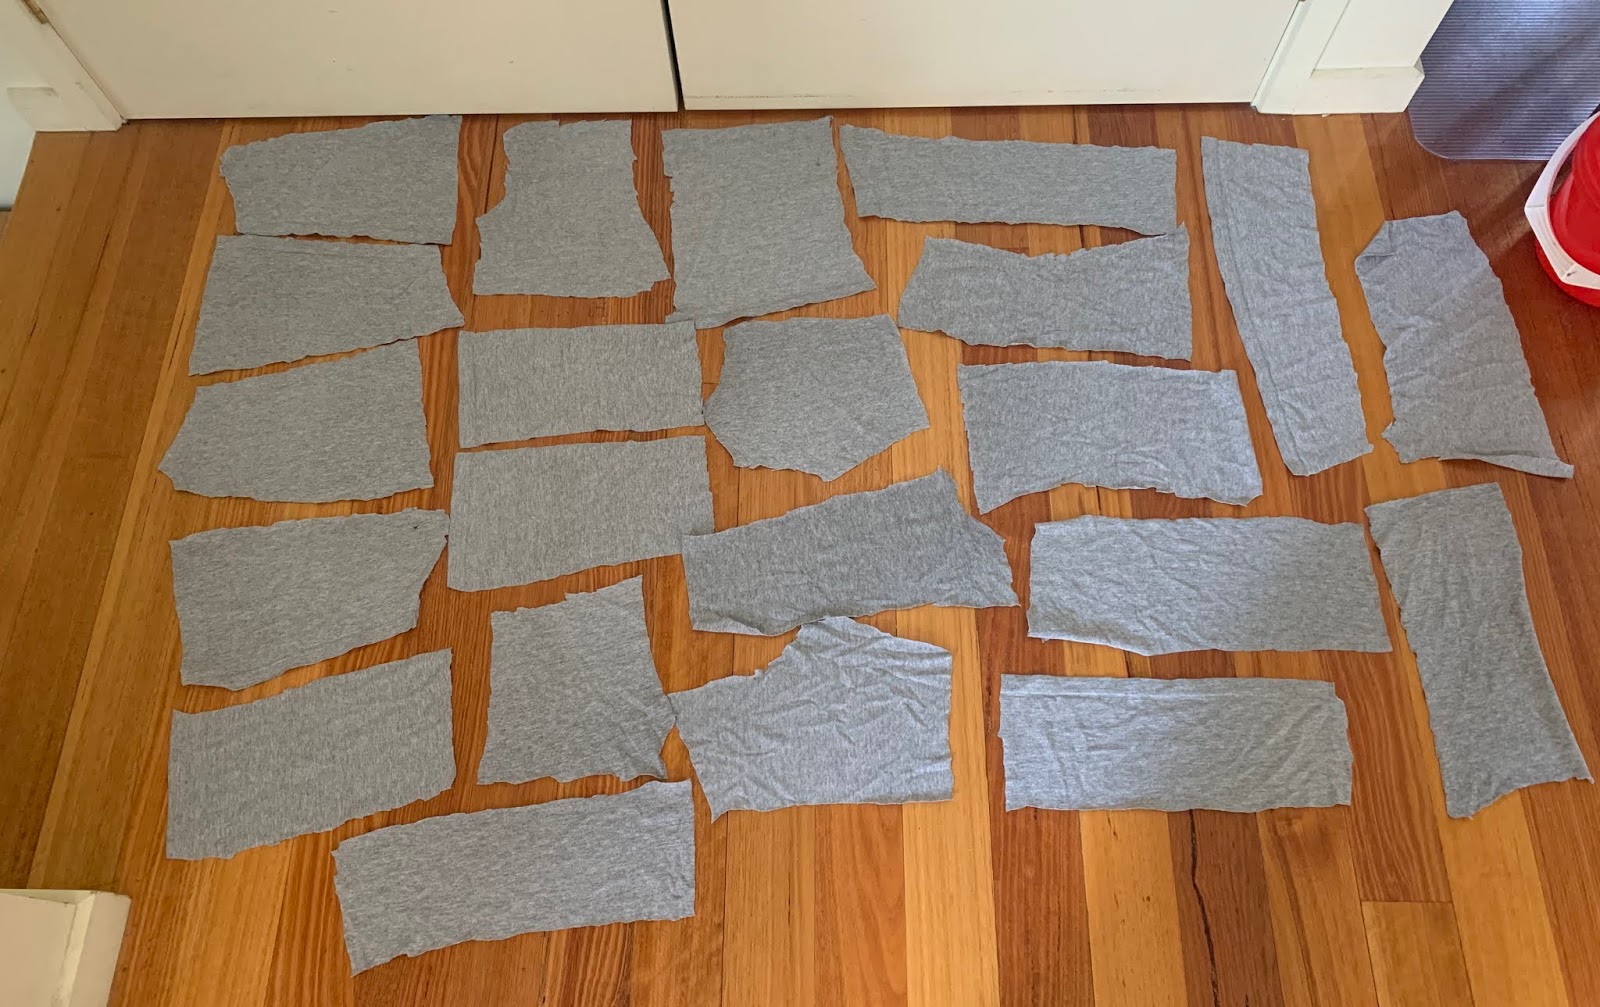
I only had a pair of very strange kitchen scissors to use, so these wipes ain’t pretty, but honestly who cares! I’ve cut up my first t-shirt (avoiding the decoration in the middle) and was able to get 22 wipes out of one XL T-shirt, even though the front had a decoration that made that part unusable.
Yes, my wipes are all cut a bit higgledy-piggledy, but that really doesn’t matter. I’ve decided to be quite generous in my sizing for this first batch, because I have plenty of old shirts I can cut up in the future.
Are you going to try this out? Let me know what you think and if you have any tips that you’d like to share. Stay safe
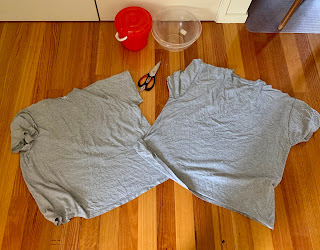 |
| Supplies: I actually only used one T-shirt for now |
 |
4 wipes from just the sleeves
|


 |
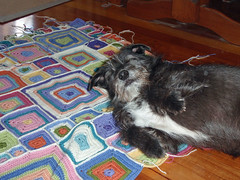
| And my gorgeous dog. Just because she’s cute! |


 Beanie #2
 Beanie #3
 Beanie #4
 Beanie #6
 Beanie#7