I received a lovely felted coin purse kit for Christmas, but have been scared to use it. I've never felted before and I didn't want to screw it up. I decided using these scraps would be the perfect opportunity to practice felting, and if it didn't work - oh well - no biggee.
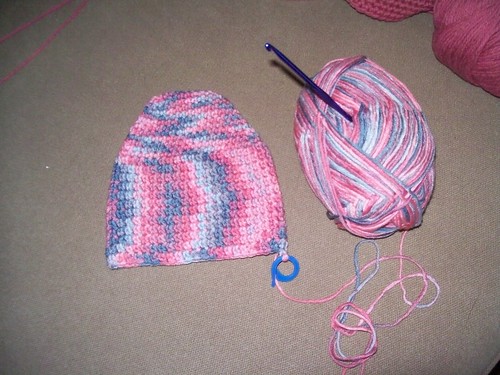
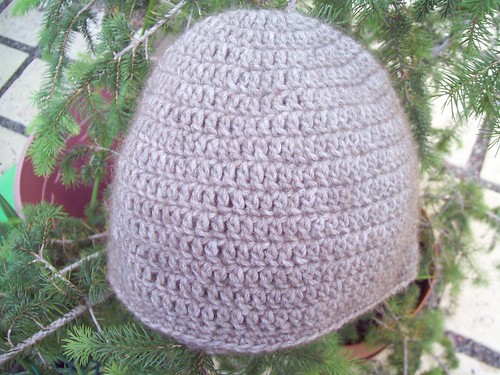
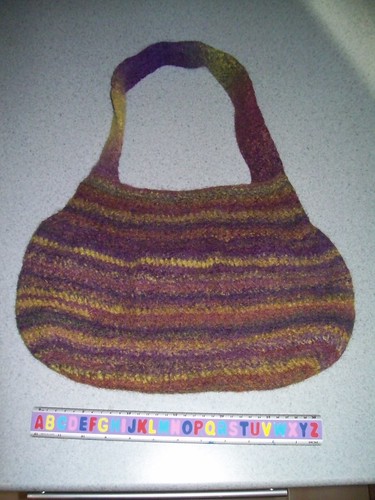
I know items shrink when they felt, I was going on the principle of about 1/2 shrinkage in size. I wanted a small bag to throw a few things in. I ended up getting a little carried away and the bag got a bit larger on me than I'd originally intended. Here's a photo prior to washing/felting. That's a 12 inch ruler below the bag.

Thanks to the wonderful ladies of Crochet Lovers Victoria on Ravelry, I was able to give it a go! One item that was especially helpful was this blog from Laughing Purple Goldfish Designs.
Since I didn't have much to bash around the item in the washing machine, it took four rounds to get all of this puppy to felt.
I am sooooooo happy with the end result! I love the shape, I love the size it ended up being in the end. Even MrElle, who tries his best to be enthusiastic about some of my crocheted items, seemed genuinely impressed with my final result.
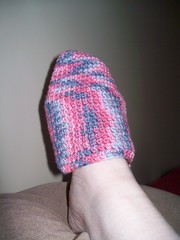
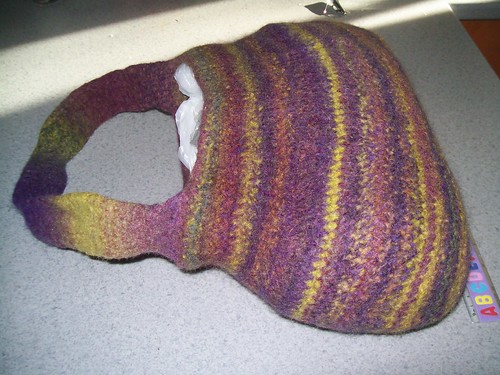
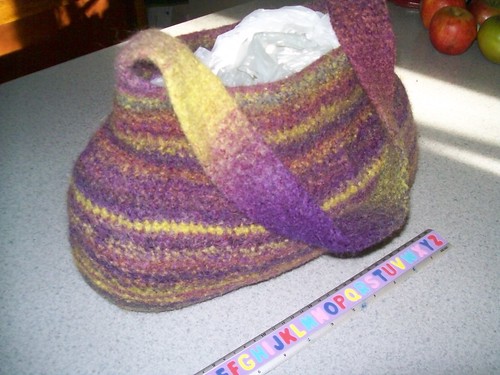
Here are some post felting photos. The bag is still wet in these photos (and stuffed with plastic bags so it will retain it's shape while drying). Check out the difference between the first photos (the size of the bag in comparison to the ruler) and the post felting ones.
This was my own improvised design. I'm quite happy with how it came out. A few people have asked me for the pattern, so I'm in the process of putting it to paper (or screen?). Watch this space....
PATTERN ADDED 20 JANUARY 20089
"I Felt the Earth Move" Handbag Crochet Pattern
Copyright January 2009 by Letitia Sherriff
*Although I am happy to offer this pattern to you for free, please do not reprint this pattern or make this pattern for items for sale. Pattern is written in US crochet terminology.
Materials Used
- Cleckheaton Vintage Hues 50 gram balls (Shade 1268)- 3 balls should be more than sufficient. (If substituting yarn, please be advised it must be 100% animal fibre for it to felt) (ETA: 2-March 2009, I have been advised by someone who made this bag that they used 5 balls of wool, though I am not sure what type/brand they used - FYI).
- 8.0mm crochet hook
Directions
- Chain 50
- Starting the second chain from the hook, sc in each chain across and 2sc in the last chain (50 stitches made). Remember to crochet loosely (not too tight) so that the item will felt properly.
- Continuing along the OTHER side of the chain, sc all the way across and 2sc in the last chain (50 sc made).
- You are now going to continue crocheting "in the round" making a very elongated oval / rectangle. Do not join or fasten off at the end of a round, just continue working in a spiral. You may wish to use a stitch marker just to keep track of where you are in terms of rounds.
- At each corner (4 corners total) you will do 2sc into the same stitch. All other stitches will just receive 1sc each. You are currently making the base/bottom of the bag. (Please note, pattern originally called for 3sc in each corner, but found this to be a bit too bulbous).
- Continue in this manner (2sc in each corner, 1sc in all others) for 10 rounds
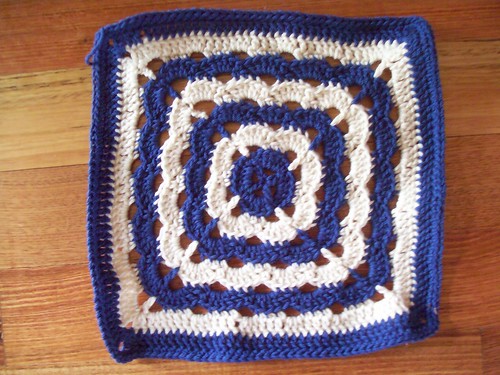
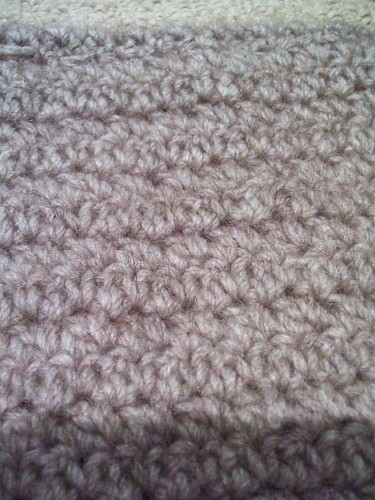
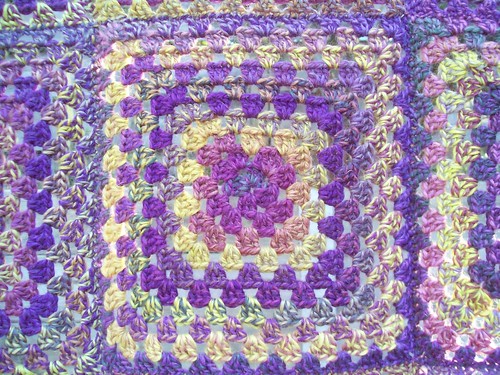
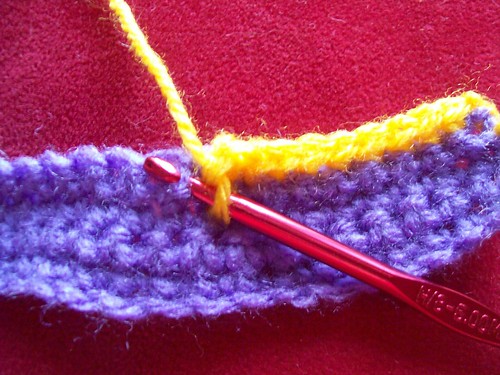
- Now do one round of surface crochet on each stitch of the previous round. (Stitch explanation - surface crochet: If you are doing single crochet and lay the item flat on a table, the "V's" will be facing away from you. When you do the surface crochet, instead of putting the hook through the top of the stitch by the V's, you are actually going around the stitch itself. As you can hopefully see in the photo below, the purple is done laying flat, with the V's facing away, and the yellow is done on the surface, with the V's FACING THE CEILING). Hook in the photo is placed where the next stitch would go.
- Working into this surface crochet that you just did (like it is a regular stitch now), you will do 1sc into each stitch. You are now working up the sides of the bag.
- Continuing in a spiral, do 12 more rounds of sc - 1 sc in each stitch.
- #*For the next round, do a sc in each of the next 8 stitches, then sc2tog to decrease* continue from * to * for two rounds. Then do one round of sc in each stitch. # Repeat from # to # two more times.
- Now you are going to be decreasing only at the short sides of the bag. Although the bag is technically more of an oval than a rectangle, if you think of it as a rectangle the "ends" of the bag are the short sides.
- #*sc all along the long sides of the bag. When you get to the short end you are going to do 2 sc, sc2tog. Do this three times on the side of the bag. Now continue along the other long side of the bag all in sc. When you get to the other short end, do the same as you did on the other side (sc, sc, sc2tog, sc, sc, sc2tog, sc, sc, sc2tog). * Repeat from * to * one more time. Now do one round of just sc#. Repeat from # to # two more times.
- Do one final round of all sc, ending on the short side of the bag. Do NOT fasten off.
- You are now going to start the handle. SC over 10 stitches, making sure they are centred over the short end of the bag. Ch-1 and turn. *SC once into each of the previous 10 scs. Ch-1 and turn. * Repeat from * to * another 48 times (or more depending on how long you would like the handle to be).
- Now sc the handle to the other short end of the bag to attach the handle. (Don't worry, this will "disappear" when the bag is felted.) Fasten off! Your done!
- Now you are ready to felt it, baby!