On the lovely Ravelry group - Crochet Lovers Victoria - we are planning on having a toilet paper cover design competition after Christmas. Well, I couldn't wait that long! I can't remember but I may have even been the one to recommend we wait until after Christmas because I was too busy! LOL
Well, instead of working on Christmas presents like I should be, last night I designed and made this goldfish toilet paper roll cover instead. I'm exceedingly proud of myself - seeing I envisioned this thing in my head, winged it - having never made a toilet cover of any kind - used techniques I've never used before, and ended up with something that, if I do say so myself, is pretty cute!
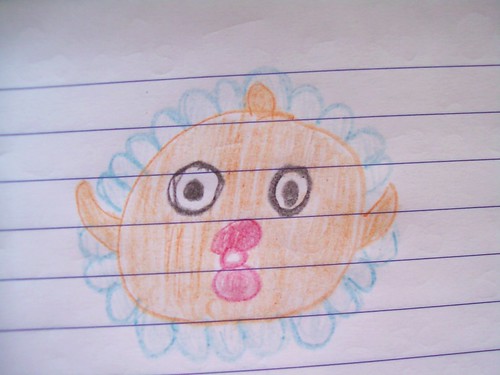
First I drew a sketch (I know, I know... don't give up my day job to be an artist)
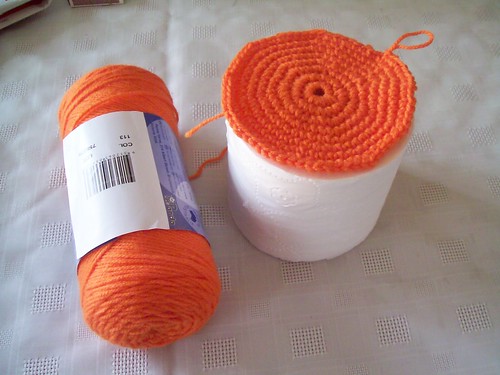
 Then I grabbed the orange acrylic and started with the "face" - making sure it was the right size to fit the loo roll.
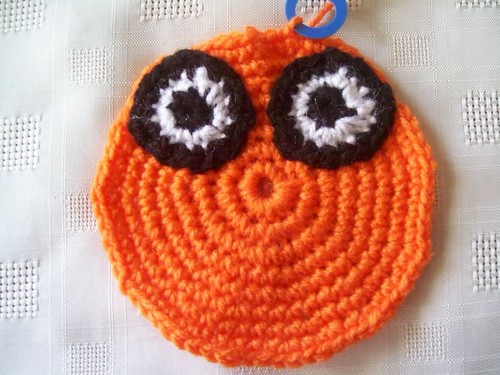
 I decided I wanted to make and attach the eyes and mouth before proceeding any further as they would be harder to attach later on. First the eyes...

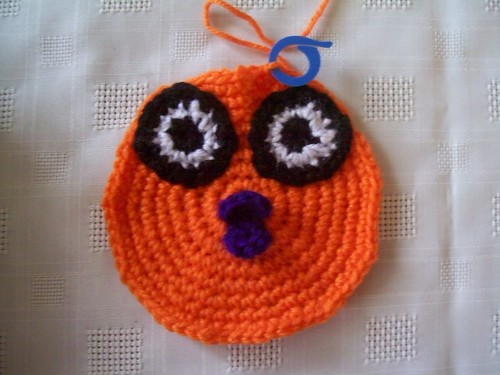
I was originally thinking red lips, but it was just too close too the orange. I pulled out some different shades, and found I like the purple lips the best. I made a small set of lips and a bigger set of lips. Unfortunately the bigger set made it look like a duck instead of a fish, so I went with the smaller ones.
 After attaching the eyes and lips, I went back to my orange, created the "dorsal fin" curlique on top of the head, made a seam around the face (by doing what I think is called going around the post) then continued on until the body was "almost" the length I wanted.
 I then switched to this variegated blue and white mixture for the water and waves. I made a few more rows with this colour, did the "going around the post thing - I think" and then made the waves around the bottom with triple crochet shells of five stitches each.
After I was done with the water and waves, I improvised some fins, popped them on, and TA-DA! My first toilet roll cover design was complete!
It would be very easy to modify this design for any colour fish... add some black stripes to make him like Nemo... do smaller cross eyes for a goofy fish, all sorts of variations.
I was hoping this would satisfy my husband desire for a toilet roll cover, but now he's talking about me making the entire cast of Nemo. Er, I don't think so!

I just love it! well done.
ReplyDeleteThis is such a cute project! What a neat idea. Thanks for the November card. (archaeologie on Ravelry)
ReplyDeleteSo cute! I'm going to watch for your pattern.
ReplyDeletevery nice!
ReplyDeletehahahahahah! that is perfect! hahahahahah!!!!!!!!!!!!!!!!!
ReplyDelete