Sunday, April 12, 2009

Three 12 inch Squares

I was asked to make a 12 inch square to contribute to a special blanket. I was watching TV one evening, got a little carried away, and ended up making three instead.

The first is in an interesting Carnival variegated with different shades of blue and white from a pattern called Arches by Dayna Audirsch.


I also wanted to use some of the "eyelash" art yarns, and ended up making two traditional granny square style squares (since the gaps make it less difficult to use the art yarn). One was in turquoise blue/green with nearly identical eyelash yarn.


The second one was in a soft blue with a variegated eyelash yarn with different shades of blue and white (which you can't really see in the pictures).


I'm excited to see the finished blanket when it is done - it is going to a very deserving recipient!

Friday, April 3, 2009

Niece 9's Birthday Shawl


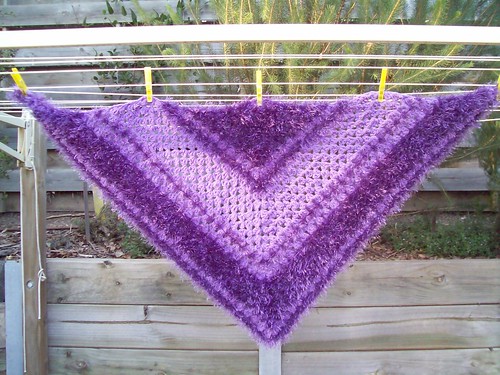
I recently finished a shawl for my 9 year old niece. Her birthday is August 12th (aka - 8-12). I used her birthday as a guide for my row changes. I used an eyelash yarn from the Palette Collection in Wisteria (a lovely shade of purple) as well as some Moda Vera Wisp yarn in a lavender and silver colour.

So I had 8 rows of eyelash, 1 row of wisp, and 2 rows of eyelash. I then reversed it... 8 rows of wisp, 1 row of eyelash and 2 rows of wisp. And then back to the original set of 8 rows of eyelash, 1 row of wisp and 2 rows of eyelash.

I am so happy with how well the purple's match and I'm so pleased that the set of three repeats gave me a perfectly sized shawl for my niece. It is super soft and squishy - exactly what a shawl should be.


I have now started on a similar one for Niece 6 (who's birthday is May 31, aka 5-31, therefore 5 rows, 3 rows, 1 row, repeat twice).
These will be the first crocheted items I will be able to give my nieces in person (the rest have been posted or delivered by someone else). I am really looking forward to seeing their reactions to their shawls. I know how excited I'd have been at their ages to get something like that!

Tuesday, March 31, 2009

Aaron's Blanket


A dear friend's best friend has a little four year old boy with cancer (Ewings Sarcoma). With the help of several lovely ladies from Ravelry's Crochet Lovers Victoria, we were able to make him a blanket in green and yellow (which I'm told are his favourite colours). Some of the ladies also made Aaron some cute cuddle toys and hats!

Many, many, many, many thanks to Cathy, Dawn, Daphne, Tess, Sharon, Lyn, Julie and Michelle for all of your help! (aka: CRC, DawnieDear, HappyPeacock, KingsvilleTess, LaughingPurple, lyndymb, Shilo and Yarnplay67)


Saturday, March 21, 2009

More Dyeing - Food Colour Attempt Two

This past week I made another attempt at food colour dyeing. This time I was more prepared wtih plenty of food colour on hand as well as my plastic mustard and ketchup picnic bottles to squirt on the colour (a tip I received from someone... sorry, I can't remember who, but thank you whoever you are!). Edited to add: Oh, I just looked it up. It was Meagan who gave me the plastic bottle tip. Thank Meagan - they worked PERFECTLY!

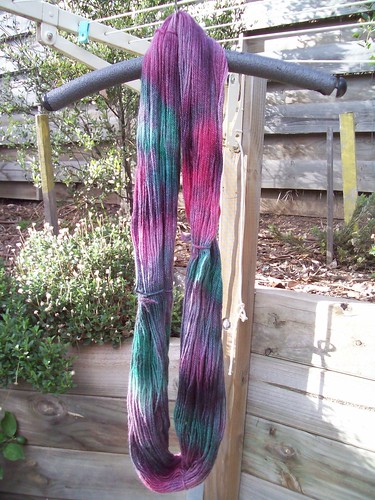
I have been using Queen food colours from the supermarket. This time I used an entire bottle of rose pink, an entire bottle of conchineal (sp?), an entire bottle of blue, and about half a bottle of green. All that for just 200 grams of wool!

I was aiming for mostly red to pink (and varieties in between). When I was squirting the dye on, the red and the pink looked nearly exactly the same and I was afraid I'd end up with more or less just one colour all over. That's fine, but that's not why I was doing home dyeing. I then decided to try and add a little bit of "turquoise" to the mix.
I REALLY saturated the wool because I wanted nice strong bright colours and I didn't want any of the natural colour of the wool showing. I followed the same directions as my first attempt - soaking in vinegar, putting it in cling wrap, squirting on the colours, then microwaving. After giving it a post microwave rinse in tepid water in the laundry sink, I noticed A TON of colour was coming out. And since, from my previous experience, I didn't want a residual vinegar smell, I decided to let it soak in some wool wash for awhile.

Later that night I was on my way out to dinner when I realised - oops! I'd left the wool soaking in the sink and had forgotten to take it out! Not much I could do about it at that stage, so it had to wait until I got home a few hours later. Because a lot of the colour that was coming out in the sink was of the blue/green variety, I believe it affected the rest of the colours.

Although I still have a bit of red and pink colours, more of that has turned to purple. Ultimately though, I am really happy with the colours and I love how they look. I started making a hat with the wool and it was working up beautifully. Unfortunately the pattern was awful and although this was supposed to be a large sized adult hat, it ended up being a good size for one of my niece's doll. I ended up having to frog it and will have to just wing a hat pattern as I go. Can't wait to finish it. Oh, I think that means I have to start it first!


Monday, March 2, 2009

Part Two - I Would Dye For You

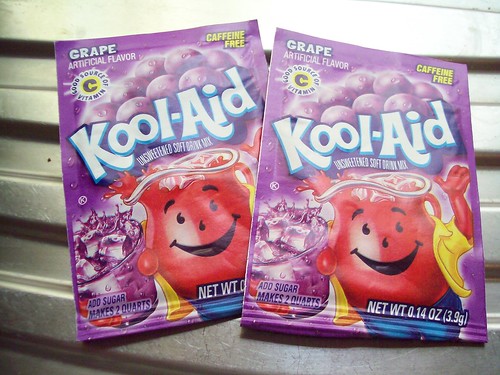
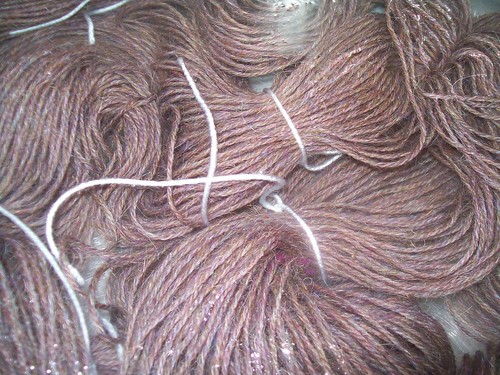
In the end, I really love microwave dyeing and have since tried it with Kool-Aid. Yes, I sacrificed some of my precious Grape Kool-Aid to dye some alpaca that was very gray and gummy looking. Can't let perfectly lovely alpaca go to waste!

Jumping back to my first batch, after it was all dry, I realised it was still a bit stinky from the vinegar. I was advised that I might want to give it a hand wash in some tepid water with wool wash (being careful not to agitate it!).

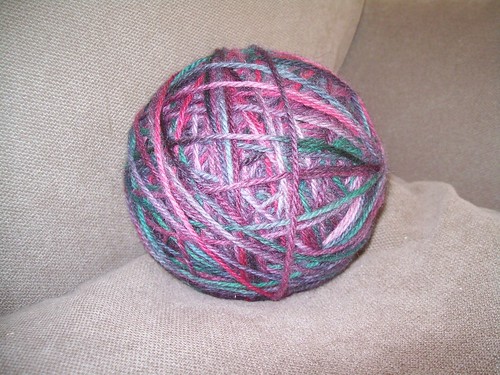
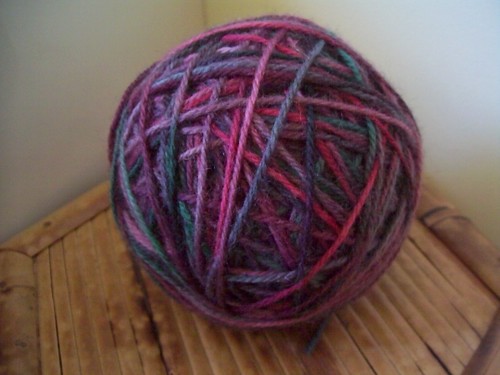
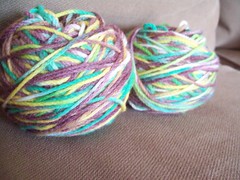
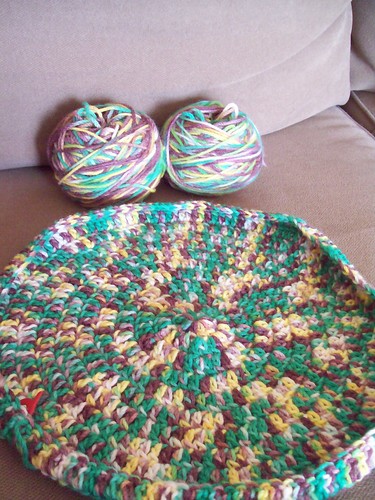
I then balled it up and used about two of my three balls to make myself a tam style beret (which I haven't photographed yet).


As for the alpaca, I followed nearly the same directions as the food colour dyeing, however, this time, instead of squirting on the colours, I microwaved the alpaca in a bowl of Kool-Aid water. I read elsewhere on the internet that you just continue to microwave (in 2 minute intervals, 2 minutes of rest) until the water is clear and your fibre has absorbed all the colour.
I would have liked it to be a tad more purple, but I only had two packets of Kool-Aid for 200 grams of alpaca, and according to the calculations I got off the internet, I should have had about 6 for that much fibre. Ah well! I much happier with it than I was before. And it has a slightly grape-ish odour as an added bonus. :)


Pre-dyeing colour.


Soaking in vinegar for about an hour. (I've read you don't need to the vinegar soak for Kool-Aid dyeing because the Kool-Aid is already acidic. But I figured I'd rather be safe than sorry).

My two Grape Kool-Aid packets from the American food shop (must remember to stock up on Kool-Aid on my next trip back to the US!)


Ready for the microwave.


Outside drying.

Wednesday, February 11, 2009

I Would Dye for You

Well, I did it for myself actually, but it was so easy, I would do it for other people, too!

I've been wanting to try dyeing wool for quite some time, but it just seemed so messy! I was also very worried about ruining my pots and pans. Then I saw a blog by Laughing Purple Goldfish Designs where she dyed some wool in the microwave - yes, the microwave!

Well I had no idea this was even possible! I was so excited, I had to give it a try. In addition to reading several of Laughing Purple Goldfish's related blogs, I also searched the internet for any other tips and tricks that might come in handy.

I started with three balls of Spotlight's Basic Harvest Wool (please be advised that if you are using food dye, you want to use 100% animal fibre).


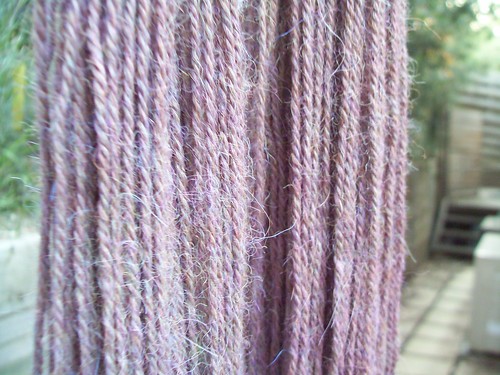
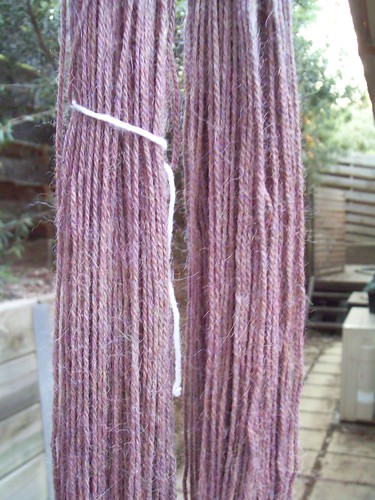
Using the back of my office chair, I wound them into hanks and tied them together with some alpaca I was not particularly found of (a little test to see how the alpaca would take to the dyeing).


As I've read, I then soaked these hanks in the laundry sink full of tepid water with about 1 cup of vinegar. I've read you should soak them for at least half an hour, so I did it for one hour. (By the way, make sure your water is not too cold or too hot or run the risk of inadvertently felting your wool).

While my wool was soaking in the vinegar and water mix, I got the rest of my items ready to go. Food colouring, cups, some old takeaway food chopsticks for mixing, cling wrap, and some more vinegar.


Then I set about mixing my food dye colours with water and vinegar and trying to get some cool colours. (Long story short, these were not the colours I was aiming for at all, but they are pretty fun nonetheless).

I've read that a turkey baster is recommended for squirting the colours on, but I don't have one. Ironically I needed a "potty break" and came across this little dropper thingy in the bathroom that came with a perfume atomizer - that'll work!


So I drained the hanks, gave them a little bit of a "hug" in a towel and then laid them out on a couple of sheets of cling wrap (with some old towels underneath just in case).


Now it was time to put the colours on!!! Weeee!!!! Okay the perfume atomizer thingy was a little small, but beggars can't be choosers. (I reckon I will invest in a turkey baster though for future dyeing).

Then I rolled it up in the clingwrap and popped it into a microwave safe dish.

Cook for two minutes, rest for two minutes, cook for two minutes, rest for two minutes, cook for another two minutes. Obviously since I've just been cooking this thing for a total of six minutes, this puppy was hot. I carefully took it over to the laundry sink with my oven mitts and popped it into the sink. I then very carefully unwrapped it, being sure to avoid any steam burns.
I wish you could see the steam coming off of this thing in the photo!
Then it was time to give it rinse with some tepid to warmish water (you don't want to hot or too cold so you don't accidentally felt it). Then another big hug in the towel to get some of the excess water out - and TA-DA! It's ready to go outside and dry!!!

I can't wait until these are dry so I can put them into balls and then start crocheting with them!
This was just so easy, so fast, and pretty mess-free. Because it's just food colouring, the glasses and bowl were just popped into the dishwasher and the chopsticks and cling wrap were popped into the garbage can. Clean-up complete! Too easy!
Obviously adult supervision is needed for this - especially with the microwaving and post-microwave unwrapping, but I think it would be so much fun for kids to be able to mix their own colours and squirt them onto the wool themselves. And it's totally safe since it's just food colouring. How excited would they be to have something made for them with wool they dyed themselves? :)))


Hip to be square

It seems like I've been making a lot of squares lately. In addition to the block-a-month crochet-along (where I'm actually doing both squares each month), I've also been organising a blanket for a friend of a friend's little 3 year-old boy who has cancer.
Some of the lovely ladies of Crochet Lover's Victoria on Ravelry have made some squares for the blanket (in addition to a couple of hats and toys as well - they are very generous!). I've personally completed three squares for the blanket so far.

Apparently the little boy's favourite colours are yellow and green, so everyone has been making squares in those colours.

I've made one of my 3-5-3-5-3 Squares

A center heart square
And a Mandala square. (I made this one on accident - I thought I was making a different square, and was already too far into it when I realised I'd grabbed the wrong pattern - oh well).
I've also finished my second January square (that Mandala pattern I don't care for.)
And this "two-tone" square pattern.
The center heart square is also one of February's patterns so I still need to make that in the blue and cream for myself now.